It is the middle of July and fresh Ontario sour cherries are ready and ripe to make into Cherry Jam.
We used to go to the local cherry farm and purchase baskets of picked cherries. Then we paid to use the mechanized cherry pitter and took home pails filled with cherries ready for pies, jams and sauces. That was a blast when the kids were young and the outing was just as important as getting the cherries.
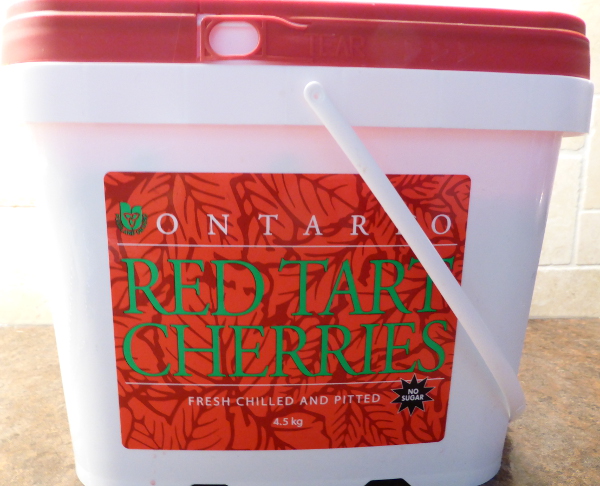
Now, I just wait until the local grocery brings in the pails of pitted cherries and skip the farm!
Sour cherries are picked at the peak of freshness, stemmed, pitted and chilled
Next winter when the snow is blowing, open up a jar of your home made cooked Cherry Jam. Summer will seem like it is just around the corner again.
The Sweet Taste of Cherry Jam
 Print recipe
Ingredients
- 4 Cups stemmed, pitted, chopped sour cherries
- 7 Cups white sugar
- 2 Pouches CERTO liquid pectin
Directions
|
It is important to sterilize the jars. The jars should be washed with soapy water, rinsed and then filled with boiling water, before they are filled with the jam. 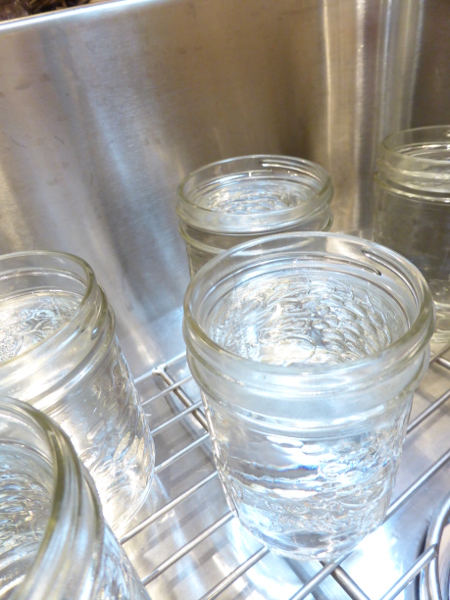 | |
|
The lids should be placed in boiled water (boiled and still warm, but not boiling) to activate the rubber on the lid. The lids cannot be reused. Replacement lids are available at most hardware stores or even the grocery stores during canning season. 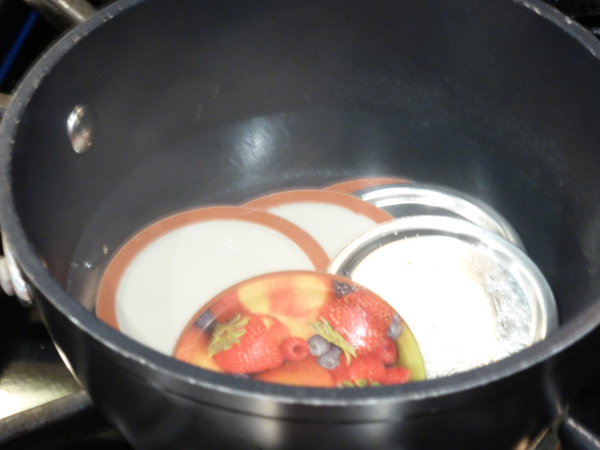 | |
|
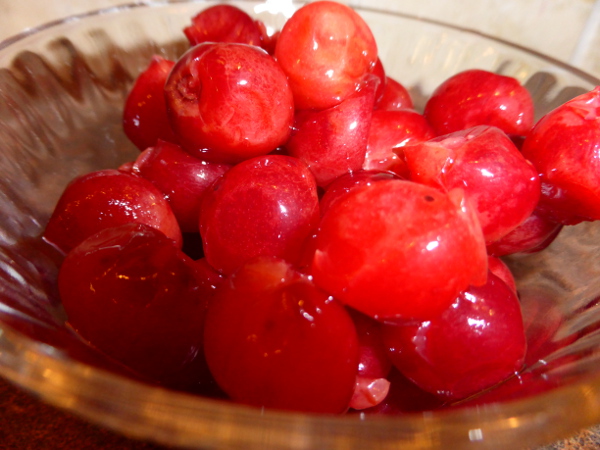
Finely chop the cherries or pulse the cherries in a food processor until you have 4 cups of prepared fruit. 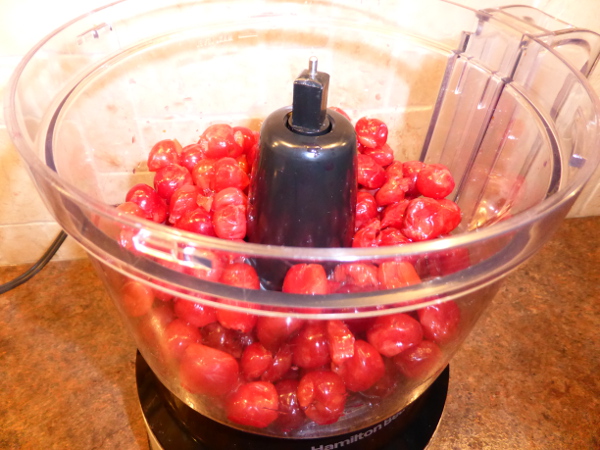 | |
|
Add the prepared cherries to a large stock pot (the mixture will double in size when it is boiling). Add all the sugar. Stir well to mix. Bring to a full boil (means that you cannot stir down the boil with a spoon) and boil hard for 1 minute. 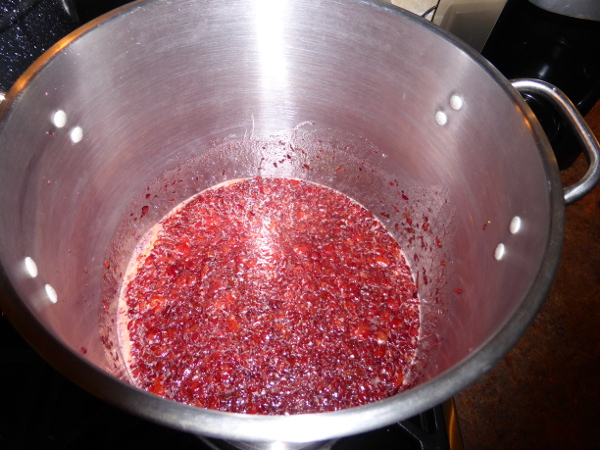 | |
|
Remove from the heat and stir in the CERTO Liquid Pectin. Stir and skim off any fruit foam with a metal spoon for 5 minutes, to prevent floating fruit. Foam contains a lot of air and although it won't hurt you, it will reduce shelf life of the jam. 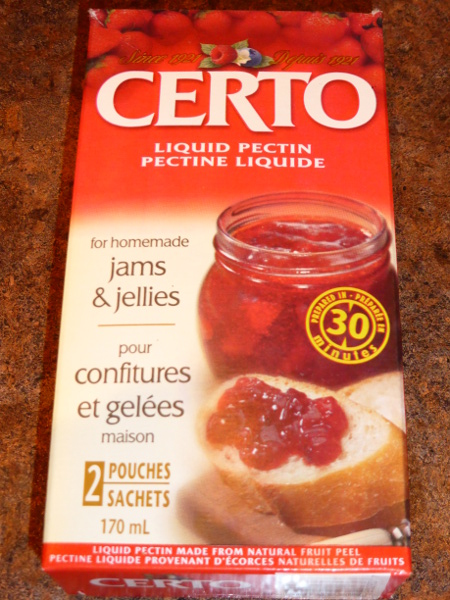 | |
| Empty the hot water out of the Mason jars and ladle the hot jam into the sterilized jars within 1/4-inch (0.5 cm) of top of jars. Wipe jar rims removing any food residue. Centre sealing discs on jar rims. Screw band down until resistance is met. | |
|
Continue to do this until all the jam has been used up. If you do not have a boiling water canner, you can leave the jars on the counter and they will most likely seal. The canner just gives you a better result. Any that do not seal should be kept in the fridge. 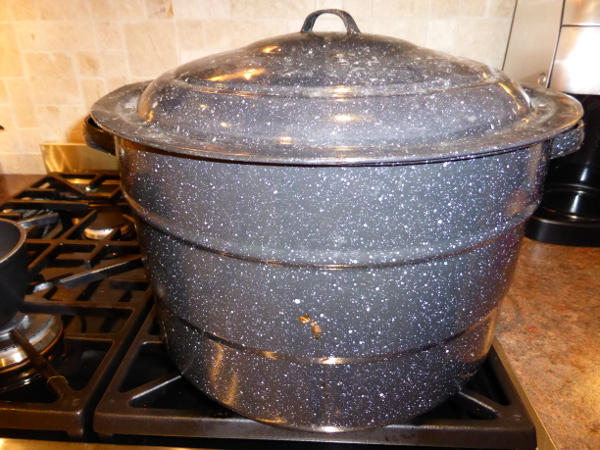 | |
|
Place 8 jars at a time in the rack for the boiling water canner. 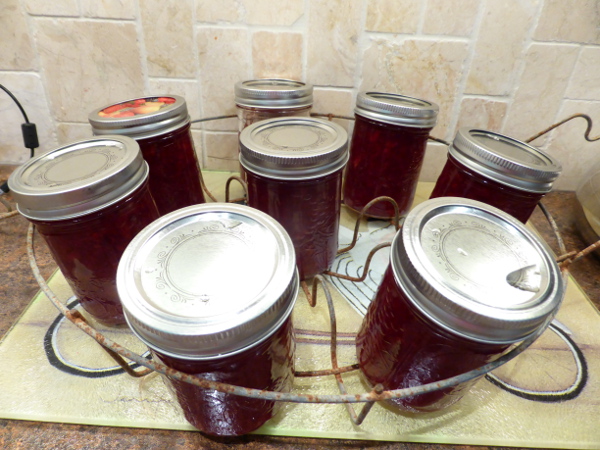 | |
|
Using oven mitts, lift the rack into the boiling water. The water should cover the top of the jars. Place the cover on the canner and process the jars for 5 minutes 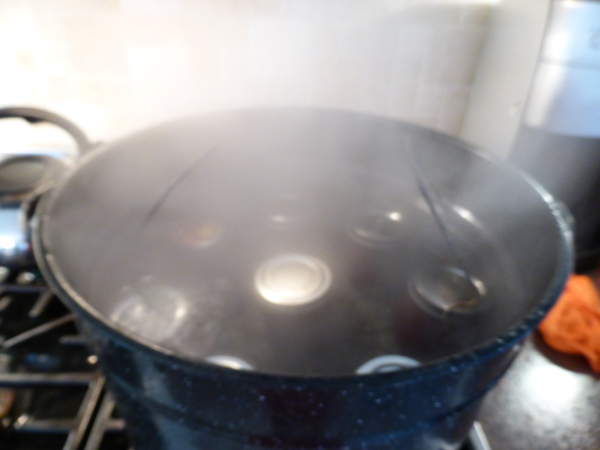 | |
|
Then remove the rack from the canner and place the jars on a heat proof board on the counter. The jars should not be moved for at least 12 hours, so that they can cool and set the lids. 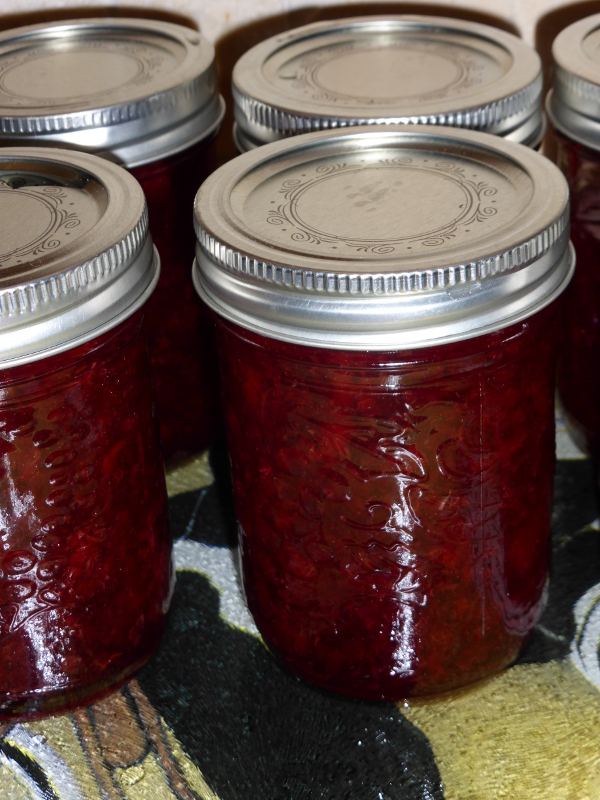 | |
| Using a permanent marker, label each lid with the product and production date. | |
|
Enjoy! | |